Start Your Crypto Journey with Trezor: Secure, Simple, and Reliable
Cryptocurrency is reshaping how we think about money, ownership, and digital assets. But with this innovation comes responsibility. Securing your digital wealth is critical, and this is where Trezor steps in. As one of the most trusted names in hardware wallets, Trezor ensures that your crypto stays safe, private, and under your control. This guide will walk you through everything you need to know to get started, from choosing your device to managing your first crypto transactions securely.
What is Trezor?
Trezor is a leading provider of hardware wallets designed to give users full control over their cryptocurrencies. Unlike software wallets or exchange-based wallets, which are connected to the internet and more vulnerable to hacks, a Trezor device stores your private keys offline. This approach drastically reduces the risk of cyber theft while maintaining user-friendly features that make managing crypto accessible to both beginners and experienced investors.
The Trezor lineup includes:
- Trezor Model One: A compact, beginner-friendly device supporting a wide range of cryptocurrencies.
- Trezor Model T: The advanced model with a touchscreen, additional security features, and support for more crypto assets.
Both devices are built to give you peace of mind while navigating the fast-paced crypto world.
Step 1: Choose Your Trezor Device
Your journey begins with choosing the device that fits your needs:
- Trezor Model One: Ideal for newcomers or anyone looking for a simple, cost-effective way to secure their crypto. It supports over 1,000 cryptocurrencies and is perfect for everyday use.
- Trezor Model T: Best suited for advanced users who want additional features, such as a touchscreen, password manager integration, and support for more coins and tokens.
No matter which device you choose, Trezor ensures top-level security for your digital assets.
Step 2: Purchase Your Trezor Device Safely
To avoid counterfeit products, always purchase directly from Trezor.io/start or an authorized reseller. Trezor devices come sealed to ensure they haven’t been tampered with. When your package arrives, inspect it carefully for any damage or broken seals before opening.
Step 3: Set Up Your Trezor Wallet
After receiving your device, the setup process is straightforward. Trezor provides an intuitive interface to help you get started safely and securely.
1. Install Trezor Suite
Trezor Suite is the official software for managing your device. Available for Windows, macOS, Linux, and mobile, Trezor Suite connects to your hardware wallet and allows you to send, receive, and monitor your cryptocurrencies.
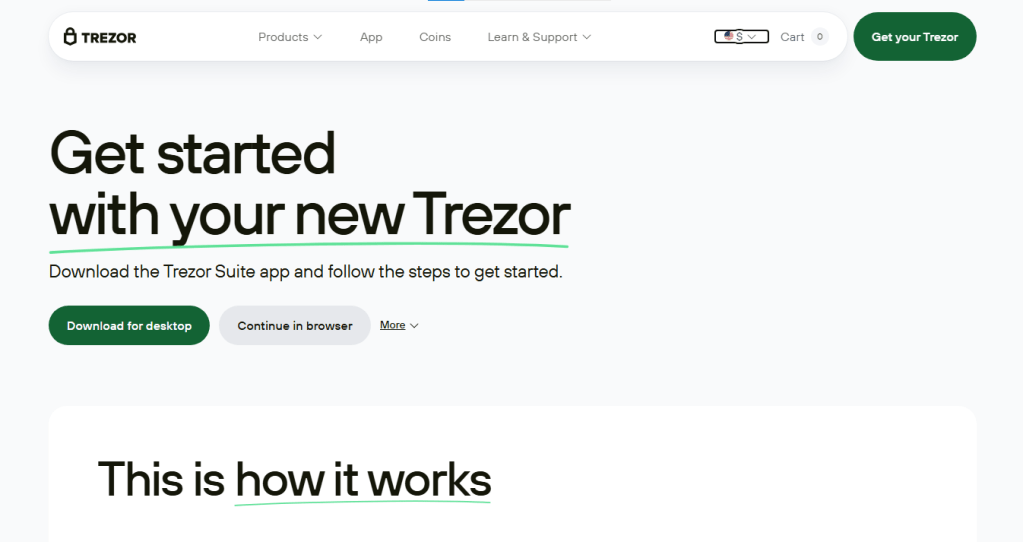
- Download Trezor Suite from the official Trezor website.
- Open the software and follow the prompts to start the setup process.
2. Initialize Your Device
- Connect your Trezor device to your computer or mobile device using a USB cable.
- Choose “Create a new wallet” in Trezor Suite.
- Set a secure PIN code. This PIN protects your device if it is lost or stolen.
3. Backup Your Recovery Seed
Your recovery seed is a 12-24 word phrase generated by Trezor. This phrase is essential for recovering your wallet if your device is lost, damaged, or stolen.
- Write the recovery seed on the provided card or another secure medium.
- Keep it offline and never share it with anyone. Anyone with access to this phrase can take control of your funds.
- Confirm the seed by entering the words in the correct order on your device.
4. Set a Passphrase (Optional but Recommended)
Trezor allows you to add a passphrase to further protect your wallet. This extra layer of security ensures that even if someone has your recovery seed, they cannot access your funds without the passphrase.
Step 4: Add Cryptocurrencies to Your Wallet
With your device ready, it’s time to manage your crypto:
- Install Apps for Your Coins: Trezor supports a wide range of cryptocurrencies. Use Trezor Suite to install the apps for each cryptocurrency you want to manage.
- Receive Crypto: Each coin will have a unique address. Use these addresses to receive funds safely from exchanges or other wallets.
- Send Crypto: When sending crypto, confirm the transaction details on your Trezor device. This extra step ensures that you are in control of every transaction and protected from malware that might manipulate your computer.
Step 5: Explore Additional Trezor Features
Trezor goes beyond simple storage. It provides features to enhance your crypto experience:
- Portfolio Management: Track all your crypto assets in one place. Trezor Suite provides a clear overview of your holdings, including real-time values.
- Staking: Some cryptocurrencies allow you to earn rewards by staking directly through your Trezor device.
- Password Management: With Trezor Model T, you can securely store and manage passwords for your digital accounts.
- Integration with dApps: Trezor supports integration with various decentralized apps for trading, lending, and other activities, all while keeping your private keys secure.
Why Choose Trezor for Crypto Security?
- Industry-Leading Security: Trezor uses secure chip technology to store private keys offline.
- Offline Storage: Your private keys never leave the device, minimizing exposure to cyber threats.
- User-Friendly: The interface is intuitive for beginners and powerful for experienced users.
- Broad Crypto Support: Trezor supports thousands of cryptocurrencies, making it flexible for any portfolio.
- Open-Source: Trezor’s software is open-source, allowing the community to audit and verify its security.
Conclusion: Secure Your Digital Future with Trezor
Getting started with Trezor is more than just buying a device—it’s about taking control of your financial future. By following these steps, you’ve ensured that your cryptocurrencies are stored securely, accessible only to you.
Whether you’re holding Bitcoin for the long term, exploring altcoins, or interacting with decentralized apps, Trezor gives you the confidence to manage your digital assets safely. Start today at Trezor.io/start and take the first step toward a secure, user-friendly crypto journey.